
Admin settings for the Workflow > Add New > Entity dropdown menu
Go to the Admin site by clicking the Admin link in the Backshop footer.

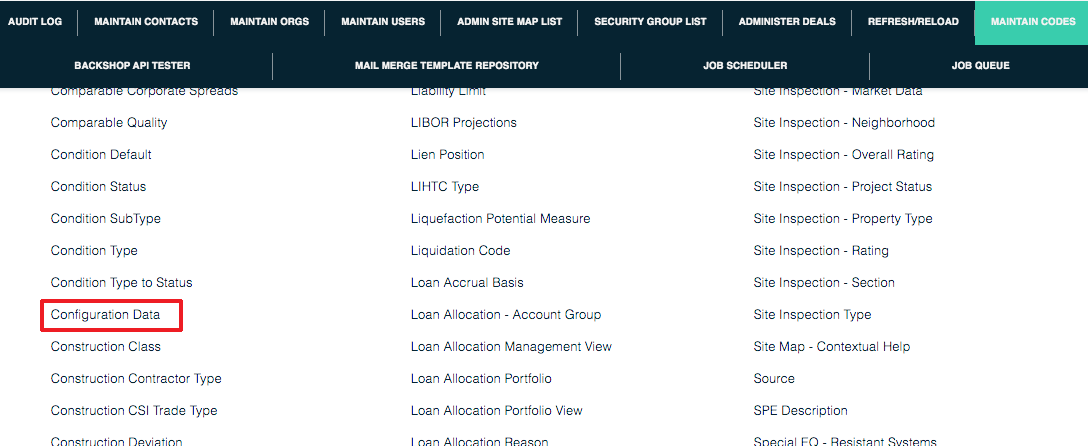
Click the Maintain Codes tab.

The resulting page has a huge list of links. Thank goodness they’re in alphabetical order.
Click the Configuration Data link.
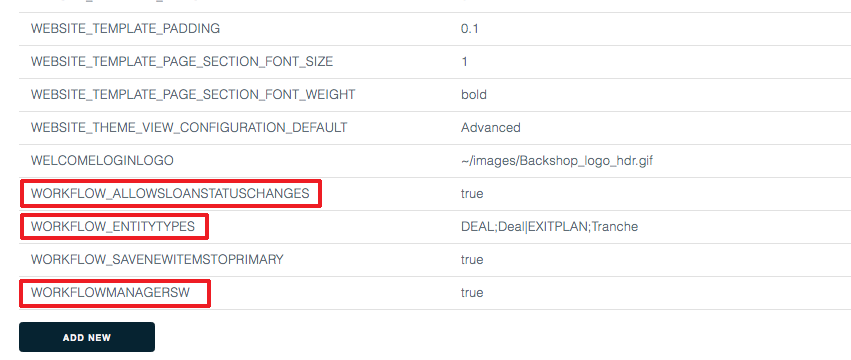
Scroll down the page and find these links:
WORKFLOW_ALLOWSLOANSTATUSCHANGES
WORKFLOW_ENTITYTYPES
WORKFLOWMANAGERSW
Those are catchy names, aren’t they?
WORKFLOW_ALLOWSLOANSTATUSCHANGES
When this is set “true,” changes in the workflow can change the status of the loan. Most users will want this set to true. To edit the setting, click the Edit link on the far right of the page.

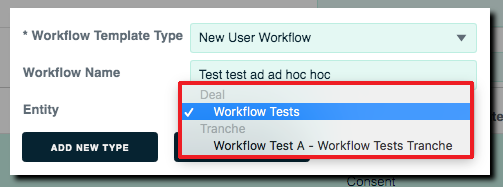
WORKFLOW_ENTITYTYPES
Here’s where you determine what’s in the Add New > Entity dropdown menu. Here’s the menu as a reminder:
Click the Edit link at the far right side of the page.

On the ensuing page, enter your desired info into the text field. The rules go:
- Entity type in caps. This will be DEAL, NOTE, PROPERTY, BORROWER or EXITPLAN. These names are pre-set in the system.
- Semicolon
- The name for that entity type that you want to appear in the menu. This might be Deal, Note, Property, Borrower or Tranche. You can call these whatever you want. For example, some organizations call exit plans tranches.
- Vertical bar
Repeat this pattern for all the items you want to appear in the menu.
For example: DEAL;Deal|NOTE;Loan|EXITPLAN;Tranche

WORKFLOWMANAGERSW
This means you’re using the Workflow Manager. You want this set to true.