
Add rent roll – Commercial
Rent rolls are the key to lease-by-lease underwriting and future securitization transparency.
This page shows how to create a “commercial” rent roll.
For a chart of rent roll methods and property types, see Add rent roll.
First you’ll create a rent roll, then you’ll add tenants.
Go to the New Rent Roll page
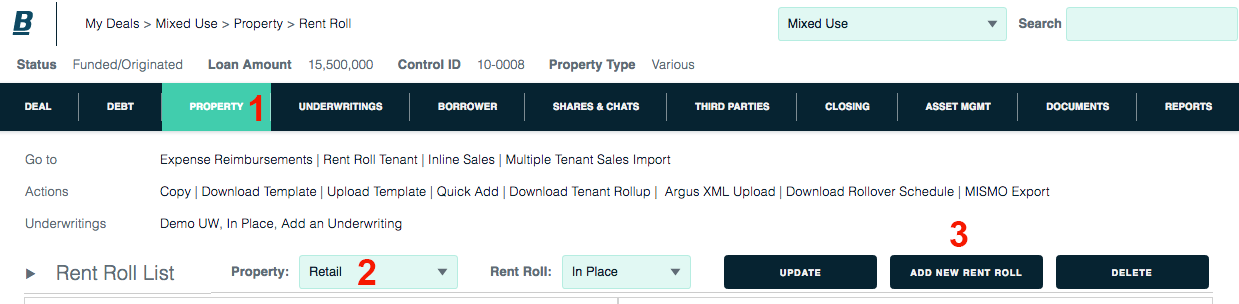
1. Click the Property tab and the Rent Roll sublink.
2. Verify that the proper property is displayed in the property menu.
3. Click the Add New button on top right of the rent roll module.
Enter Rent Roll information
1. Start with required fields (marked with *). Enter as much or little information as you like. You can always return to this entry.
2. Click the Update button at the top of the rent roll module.
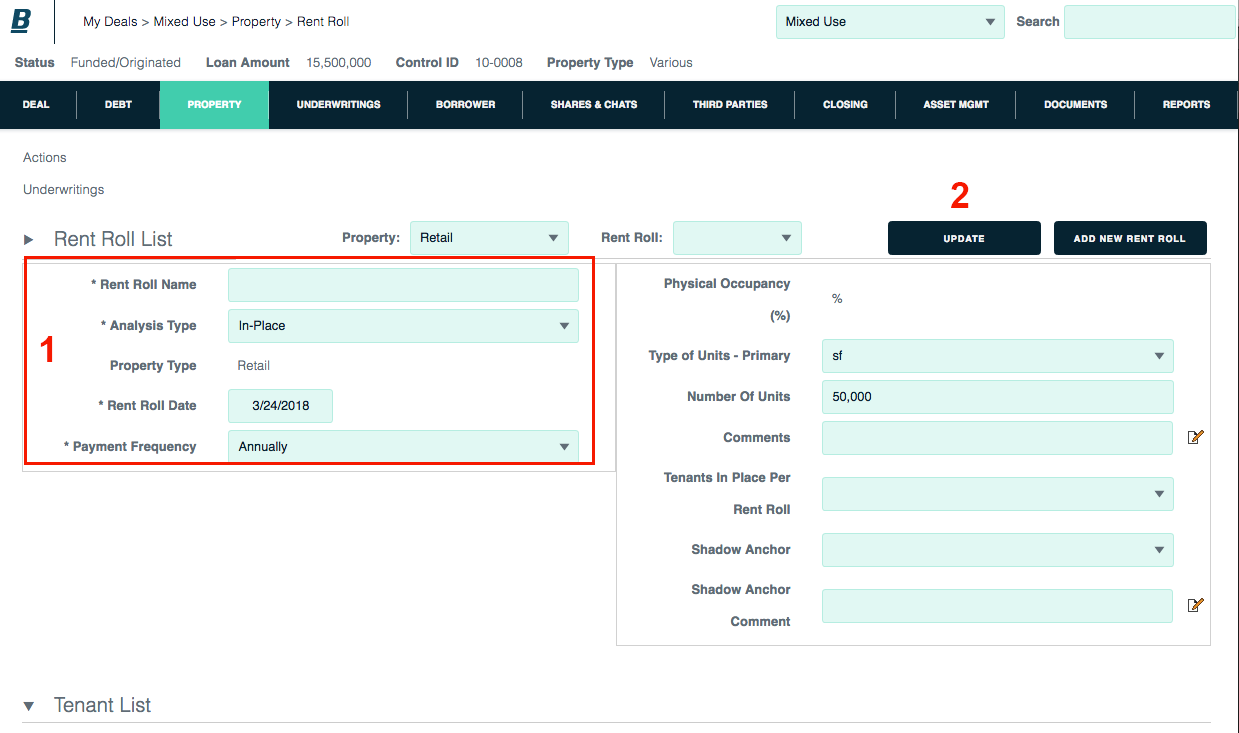
3. After you click the Update button, the tenant list will be enabled.
Enter tenants
For commercial properties, Backshop provides three ways to enter tenants:
- Quick Add – Easy way to add basic information for five tenants at a time.
- Bulk import – Quick way to add shared information for many tenants at a time.
- Add individual tenant – Add detailed information for one tenant at a time.
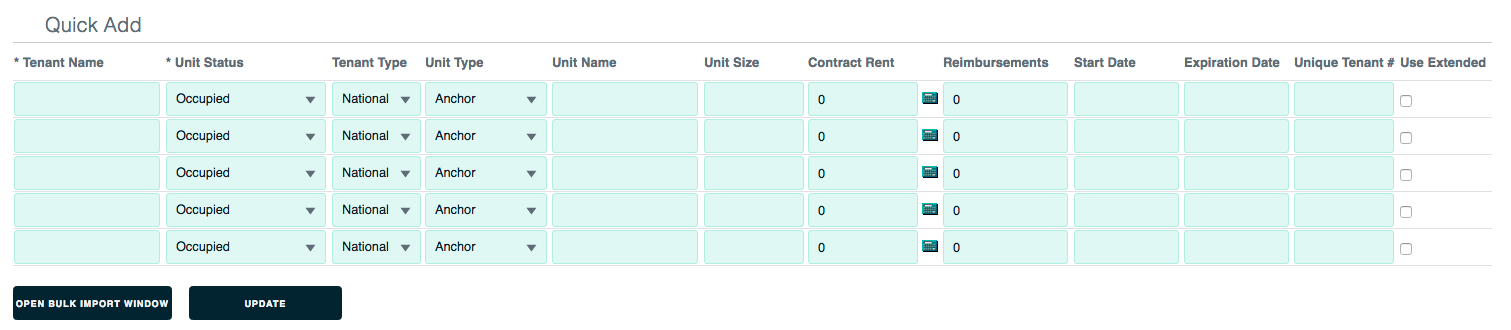
Quick Add
In the rent roll page’s tenant list module, click the Quick Add button.
Enter information for your tenant(s) then click the Update button.
You can add up to five tenants at a time. If you need to add more, you can either click Update, then return to this screen, or you can click the Open Bulk Import Window button next to the Update button.
Bulk import
To reach the bulk import page:
- First reach the Quick Add page. See above.
- On the Quick Add page, click the Open Bulk Import Window button (next to the Update button in the above screen shot).
1. Set the common unit status, tenant type and unit type for all tenants you are about to import.
2. Enter each value on its own line. If two values are on the same line, the second item will be ignored.
To enter content from Excel, select the column header, select copy, then paste the column into the appropriate box.
Make sure all rows lines up with each other.
Note: Tenant name, contract rent and unit status (menu next to #1 above) are required.
3. When you have entered all shared tenant information, click the Update button.
You can enter unique tenant information — or edit the tenant listings — later.
Add individual tenant
In the rent roll page’s tenant list module, click the Add New button.
1. Start with the required fields: tenant name and contract rent amount.
2. Enter as much information as you like, then click the Update button. You can always add to or edit this tenant.
3. If you want to add another tenant the same way, click the Add New button.